 |
Hella HID's lights mounted with PIAA brackets. |
|
|
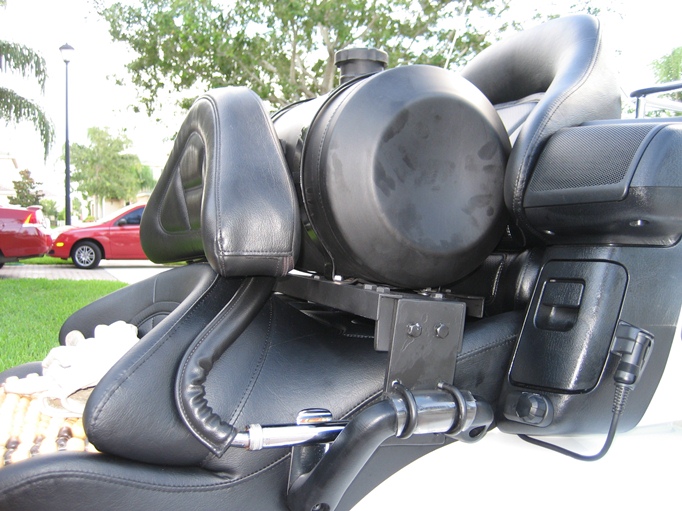
| AUX Tank Mount Modification |
|
| |
|
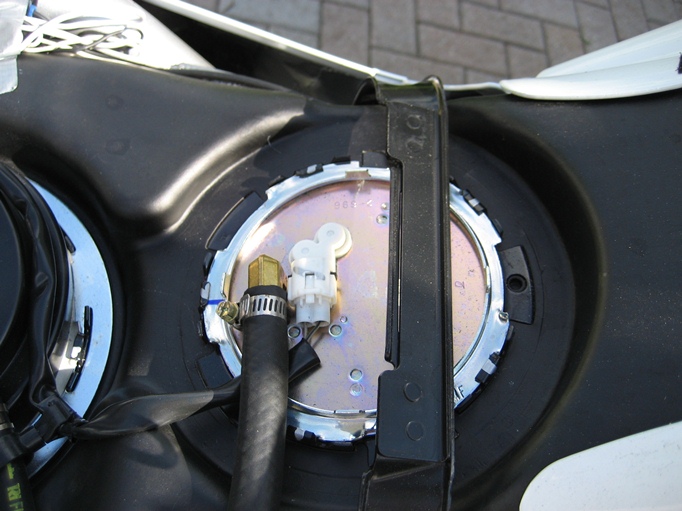 |
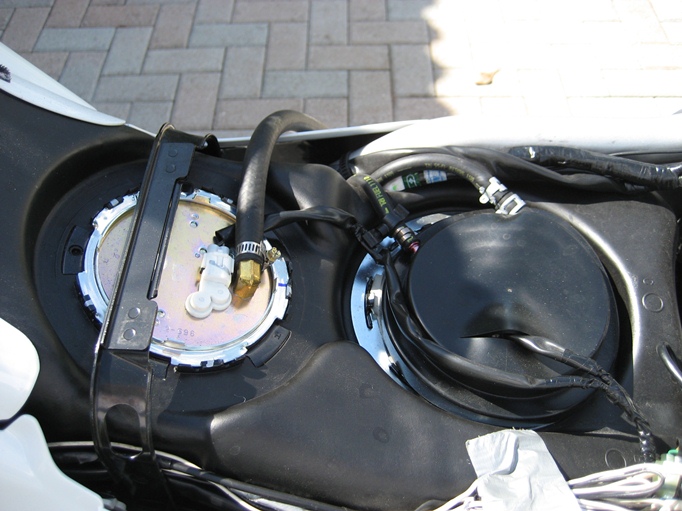
Photo of AUX tank line plumbed into the wing's fuel sending unit
plate. ( This is the plate that has the fuel tank float ). |
| |
|
 |
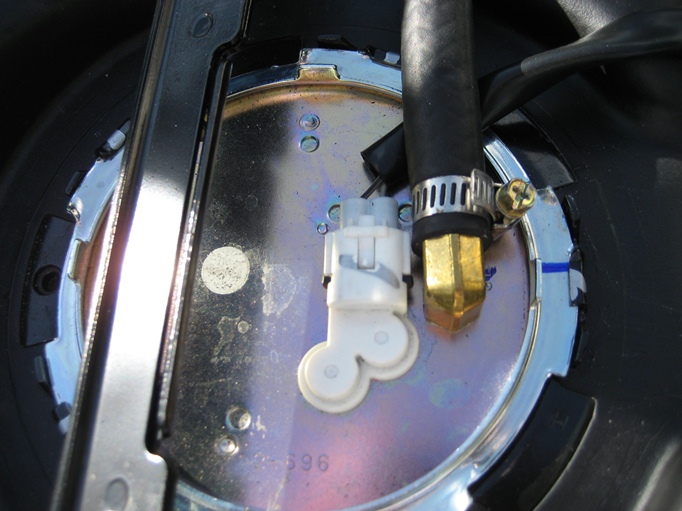
Another angle of the AUX tank line installation. You have to be sure
where you drill the hole for the brass fitting as underneath of the
plate is mounted the float bracket. Just be careful where you drill the hole for the brass
fitting.
I use a 3/8" fitting and 3/8 fuel line to have the 5 gallon tank drain
as fast as possible. Most others use a 5/16" fitting and fuel line. |
| |
|
 |
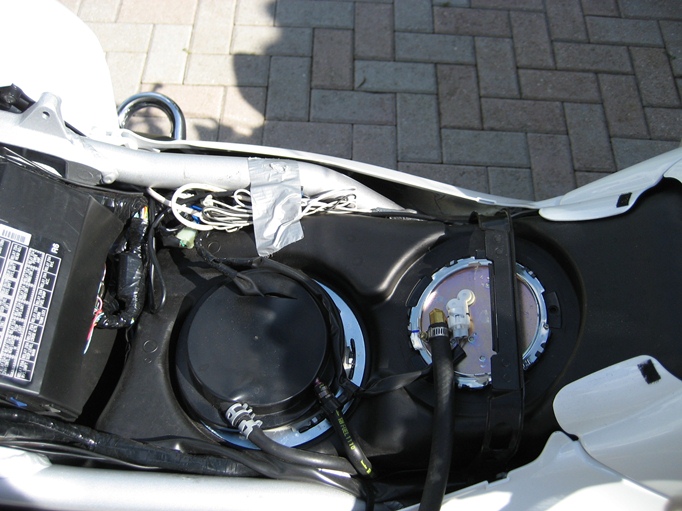
Just another photo angle. Be sure the fuel line is positioned to
not run over the tongs that stick up. |
| |
|
 |
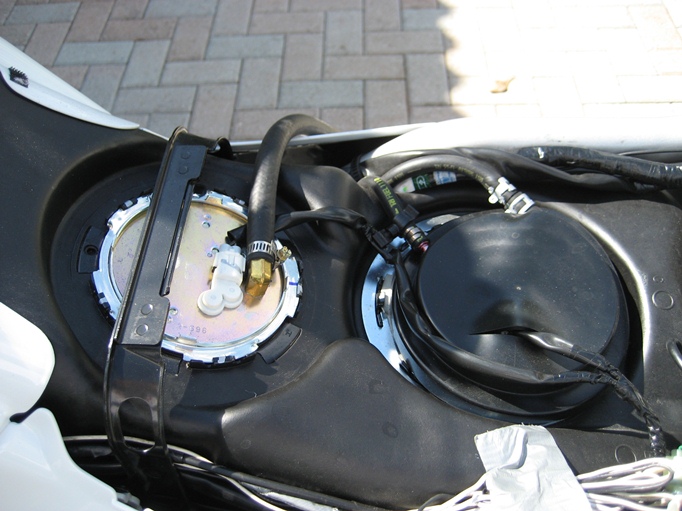
One more angle. |
| |
|
 |
Close up. |
| |
|
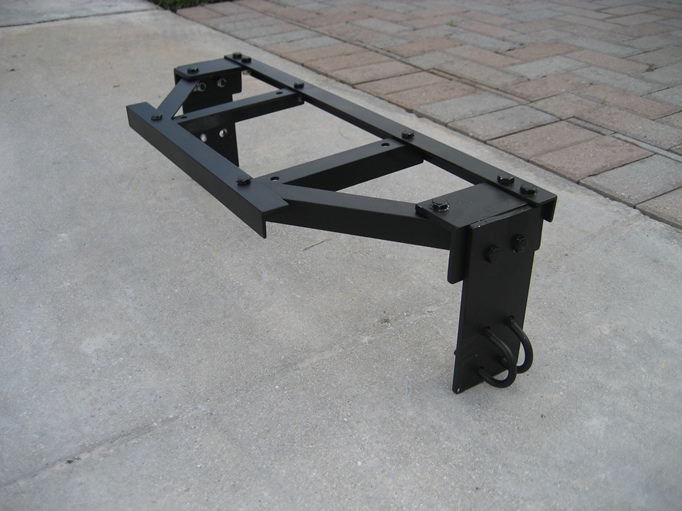 |
Bracket I made for the Aux tank. I made it out
of aluminum. |
| |
|
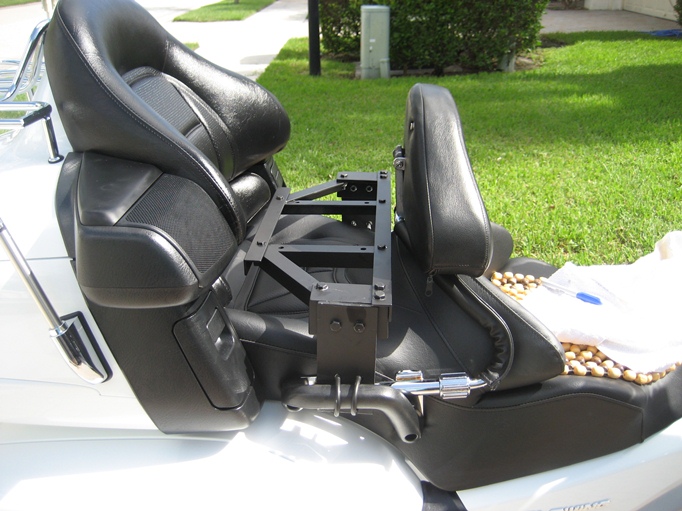 |
Bracket on the wing. I made it high enough to
sit off the seat so it would not damage the seat. |
| |
|
 |
Tank mounted. |
| |
|
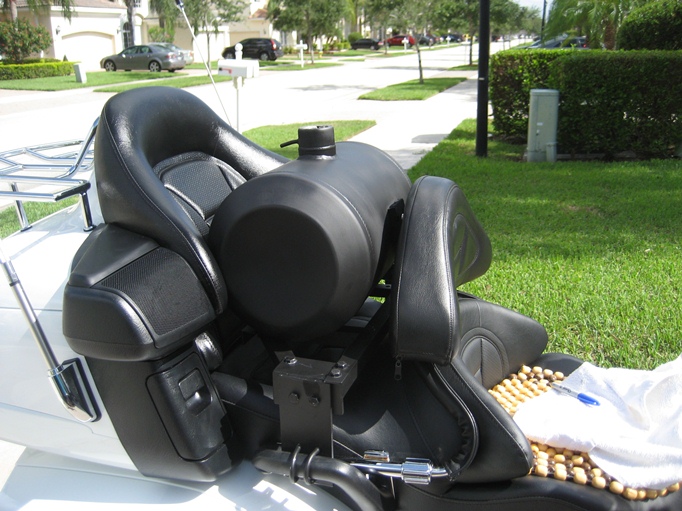 |
Photo from other side. |
| |
|
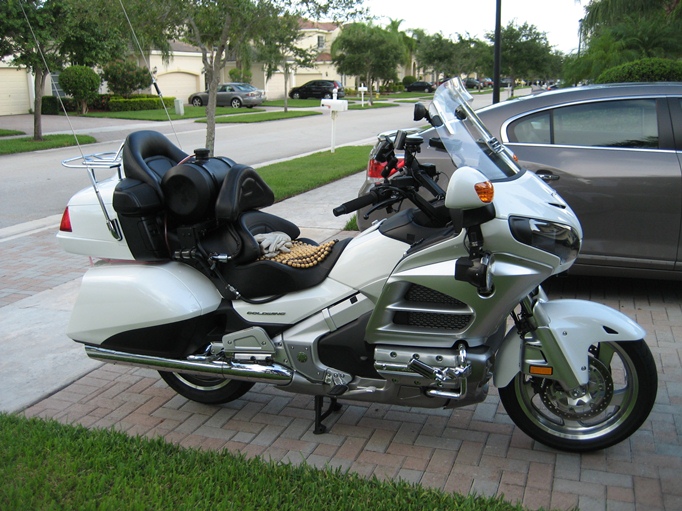 |
Photo from a distance where you can see the fuel
line and quick disconnect. |
| |
|
| 2012 Navi Use While Moving Modification. |
|
| |
|
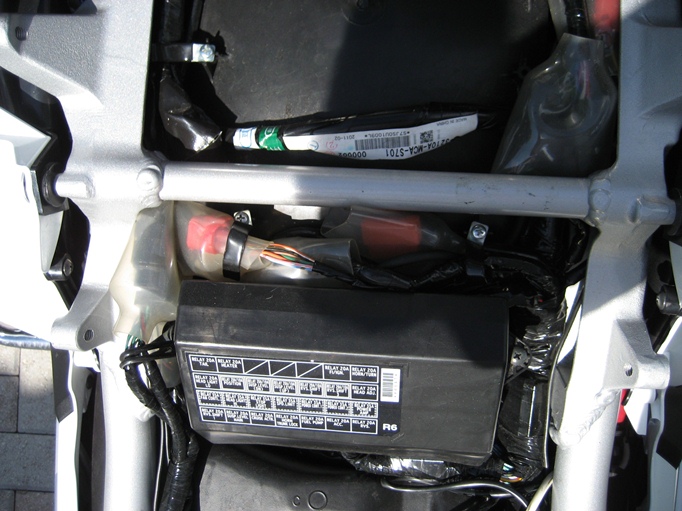 |
This is the area of the speed sensor wire
you would need to cut to modify the wing's built in navigation to use
while moving. What happens is you cut a wire and install a switch so
that when you turn the switch to the off position you create an open for
the circuit. This tricks the Navi into thinking it is not moving. When
you turn the switch to the off position the Navi does not track the
movement of the wing. ( It takes a couple seconds for the Navi to
recognize that it is not moving and you can not use the buttons until
then ) On the navi's screen it will look like you are not moving. You
can then use the buttons on the right side to perform any function like
look up a POI, stop or start a new route and any other function you can
do while stopped.
When you are done turn the switch to the on
position and the Navi will catch up to your location and start working
normally.
The wire you cut is white with a black strip. |
| |
|
 |
Another angle of the are where the wire is. |
| |
|
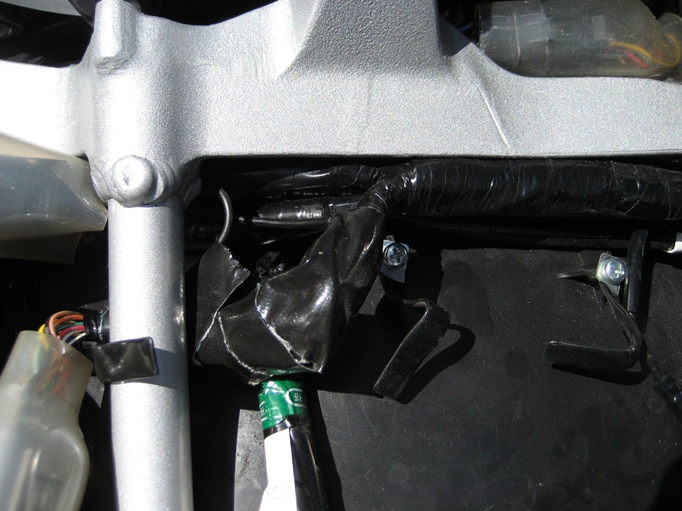 |
Photo with where I made my cut and monster tape
covering it up. |
| |
|
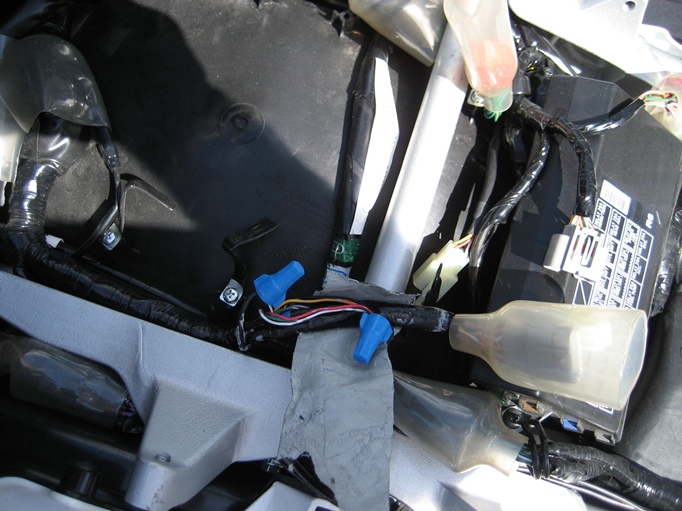 |
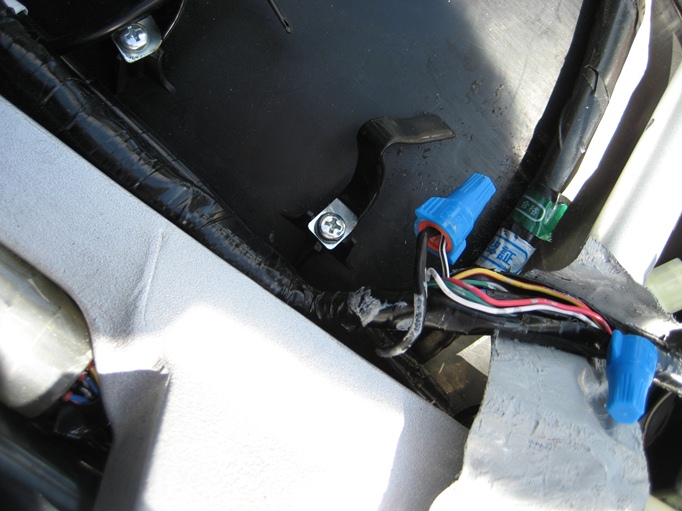
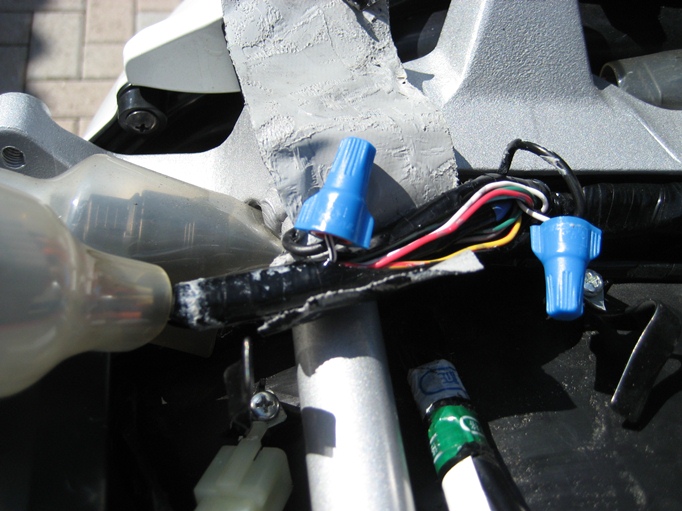
Photo with the wire cut and waterproof
connectors used to connect the wires going to the switch. I have my
switch mounted on the bottom of the switch housing on the right handle
bar. |
| |
|
 |
Close up photo that you can see the white were
with the black stripe. |
| |
|
 |
Another close up photo. |
| |
|
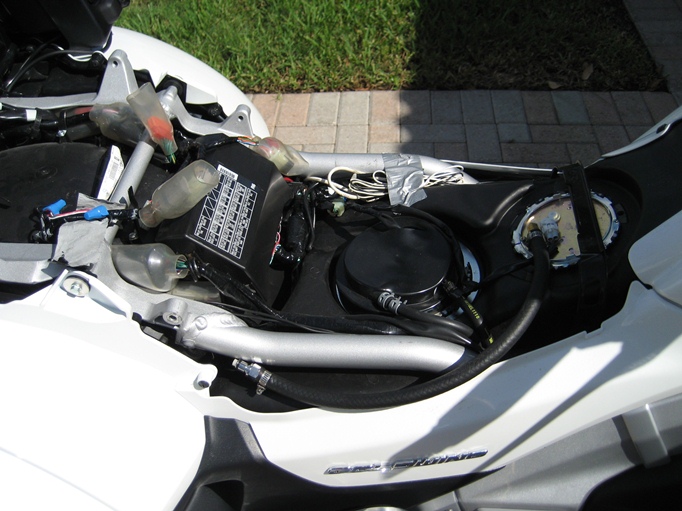 |
Photo from a little distance so you can see the
wire location. |
| |
|
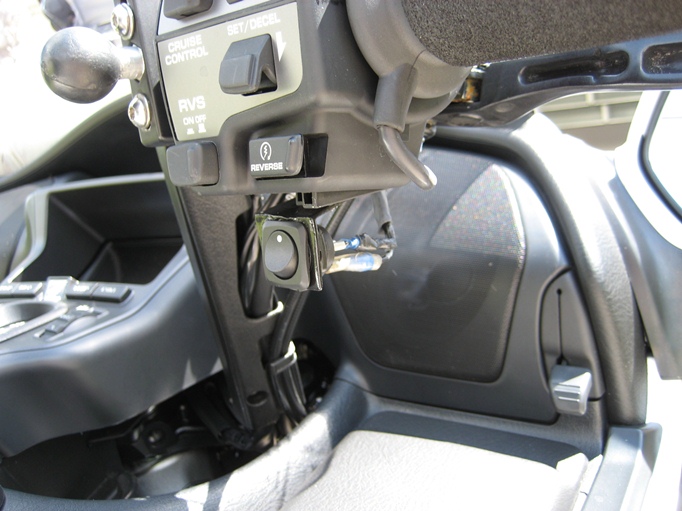 |
My switch is mounted under the right switch
housing so I can get to it easily. I can turn the switch on and off with
my thumb and not need to take my hand off the handle bar.
I bought the switch at Radio Shack and I made the bracket from a piece
of aluminum. I drilled a hole the size of the switch. There is a small
screw under the switch housing that I mounted the bracket to. |
| |
|
 |
Another angle of the switch mount. |
| |
|
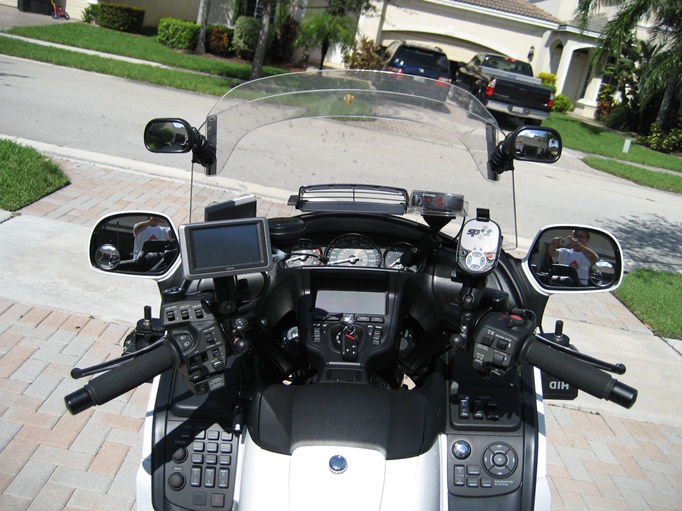
| Valentine One Radar Detector Mount |
|
| |
|
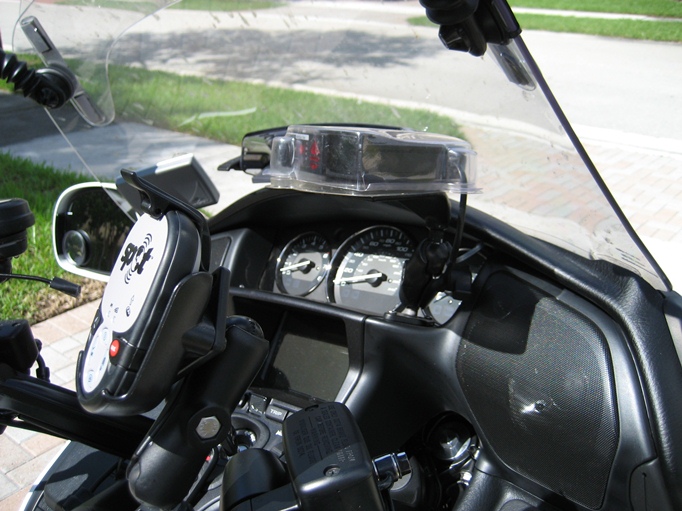 |
I have a RAM mount mounted to the dash of the
wing with a RAM arm. |
| |
|
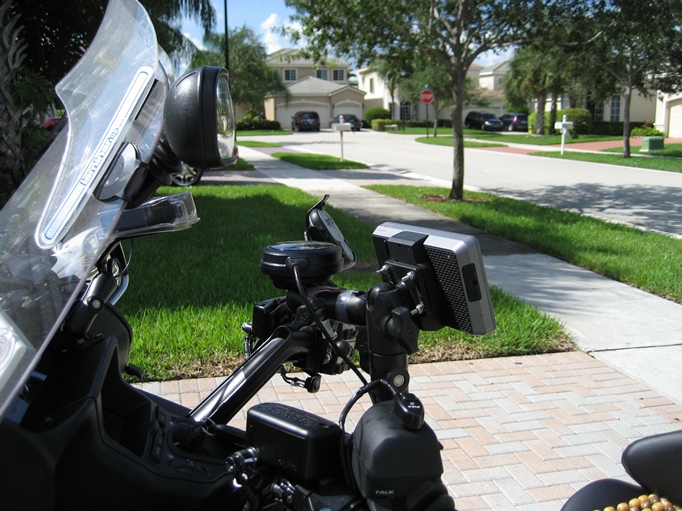
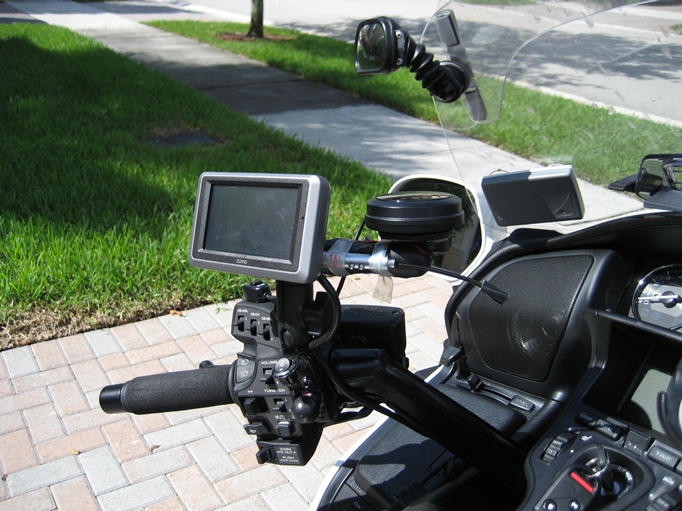
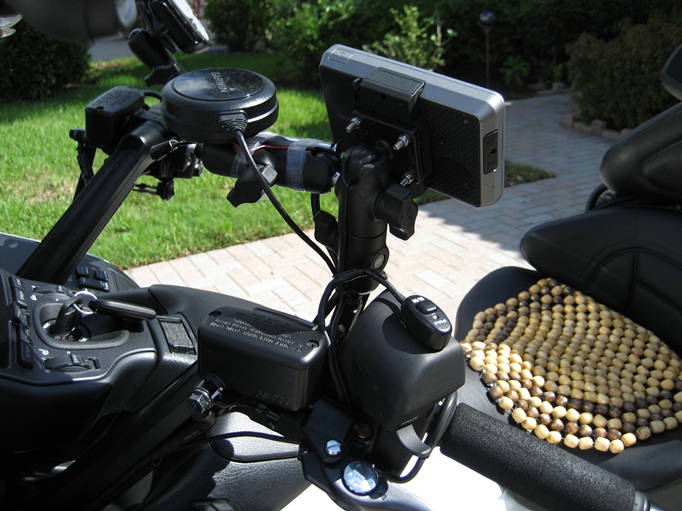
| Garmin Zumo 665 Mount |
|
| |
|
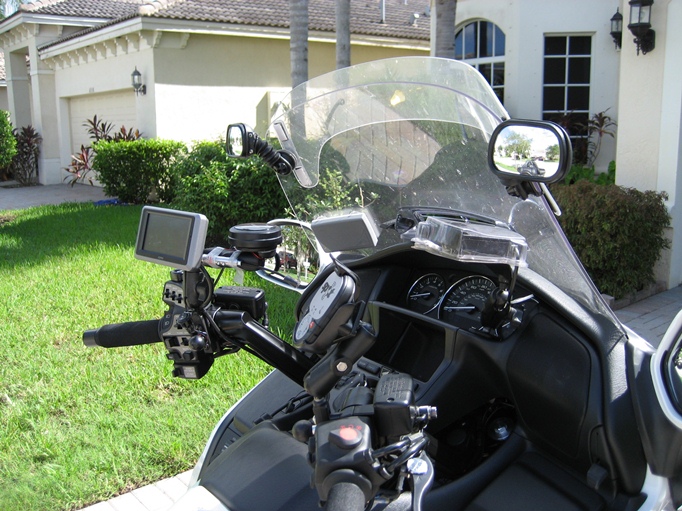 |
Photo of how I have my Zumo mounted. |
| |
|
 |
Another angle. |
| |
|
 |
Another angle. |
| |
|
 |
Close up photo. |
| |
|
 |
One more close up photo. |