When I bought my new 2012 Gold Wing I was a little surprised that
Honda had improved the suspension over the previous model years but I
knew at some point I would still want to upgrade the suspension. I had
been thinking I would install Traxxion components as the suspension work I had done on my 2009 Gold
Wing did not provide what I was hoping for. I had a lot of miles on the 2012 by the
time I rode to Alaska in June, 2012 and by the time I was back from Alaska I
had over 53,000 miles on the clock. It was time for the suspension
upgrade so I started doing my research. I found that Progressive
Suspension had come out with a new fork cartridge for the Gold Wing and
everyone was very happy with the results. I decided to purchase the
Progressive MonoCartridge for the front forks and now I needed to decide
what I am going to use for the rear shock. I found a new 2012 Gold Wing
shock from a trike take off and bought it for $175. That is a great
price as a new one cost around $800. I also decided to purchase a new
heavier duty rear spring as the Honda OEM spring is not strong enough. I
bought the Progressive Suspension Heavy Duty Rear Spring to swap the OEM
spring.
The next thing was to decide if I was going to pay someone to do the
install or try and do it myself. I started looking around at the local
shops and found that it was going to be expensive for the labor as most
shops quoted around $900 for the labor and some did not even want to do
the work. So I decided to do the work
myself as I have a shop manual and there is a lot of good information on
the web as to how to do the work. Now I needed to find the time as I was traveling every week for
work and was only home on weekends. I ended up waiting three months
until the Christmas break to do the work as I wanted to be sure I would
have enough time to finish in the event something happened.
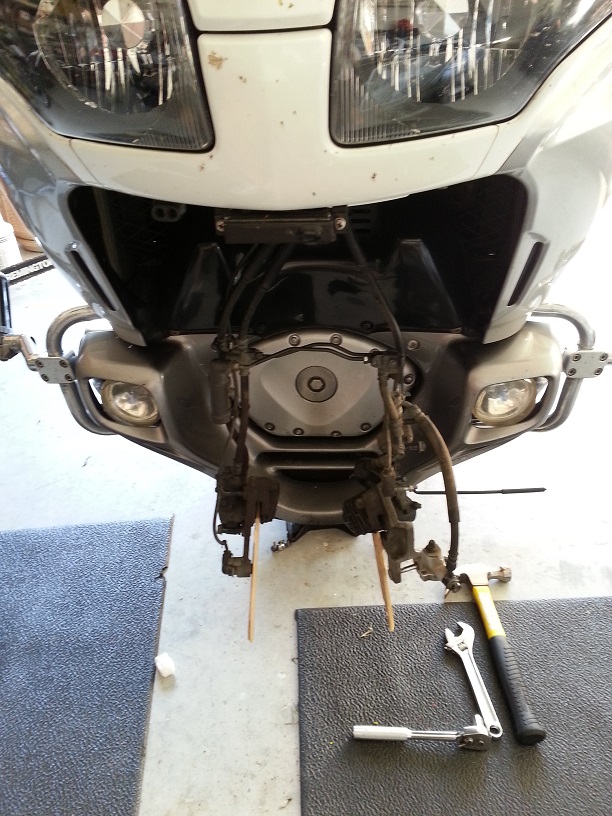
On the center stand and a car jack under the motor and with the forks removed. I put balsa wood in the brake calipers to keep the pads separated. The wing was very stable and did not need any other support to keep it upright.
.jpg)
Forks removed and ready to be disassembled.
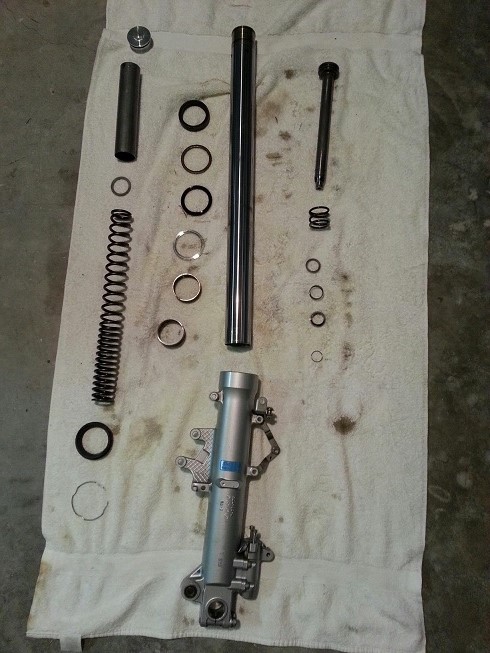
Left fork completely disassembled. There are a lot of parts in there.
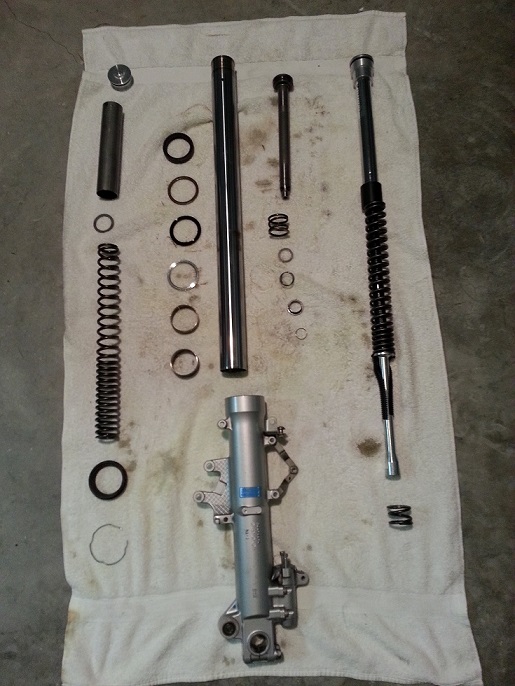
Left fork disassembled with the new Progressive Suspension MonoCartridge next to it on the right.
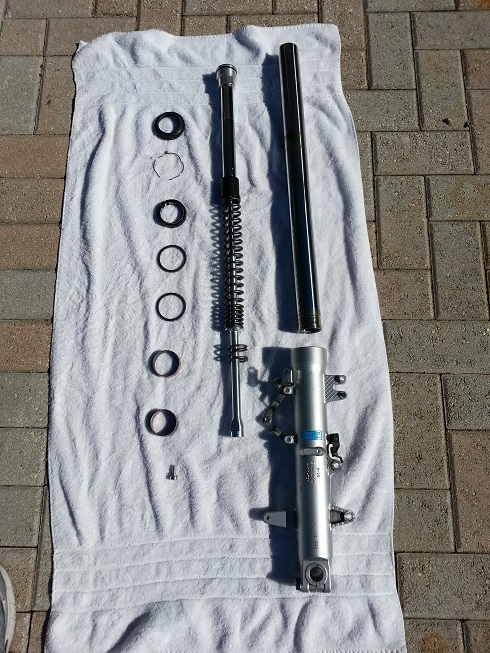
Ready to install the new cartridge with new seals, bushings, rings and dust cover.
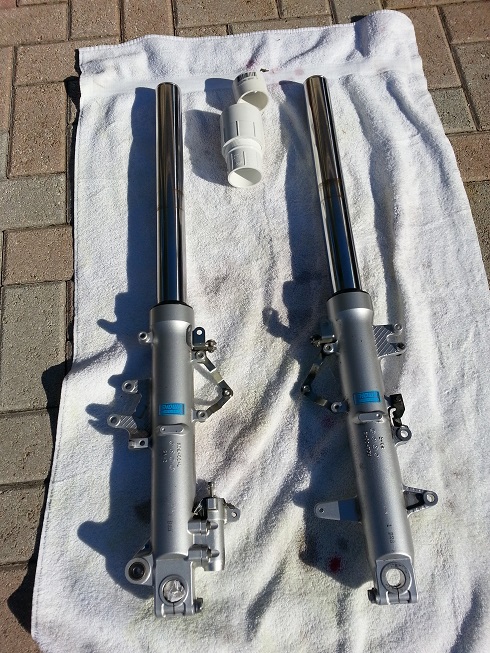
Front forks reassembled. You can see my fancy fork seal driver in top of the photo. I bought a couple pieces of PVC couplings and they worked great.
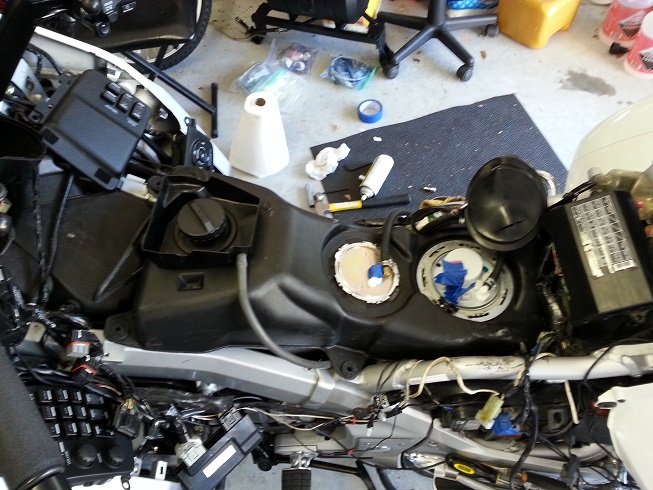
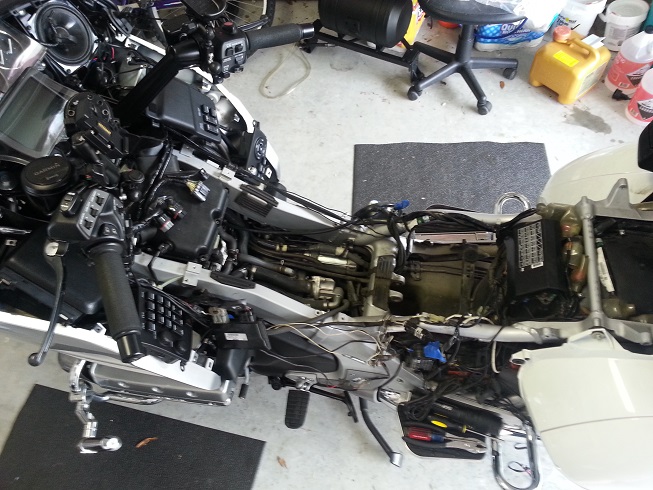
On to the rear shock. You have to remove the seat, dash, top shelter and gas tank to get to the top bolt of the rear shock. It is a pretty big job and took a couple hours to get the gas tank out.
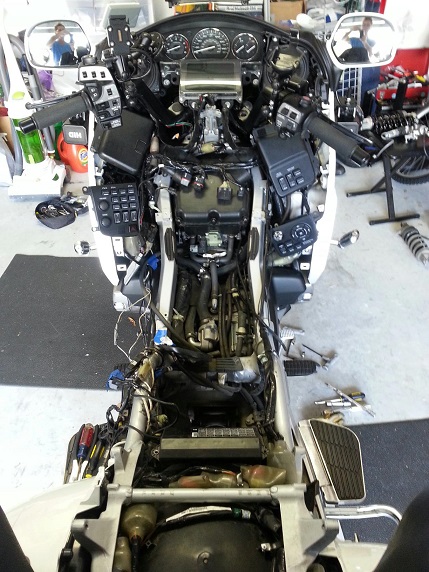
View from rear of bike with gas tank removed.
View from the side with the gas tank removed.
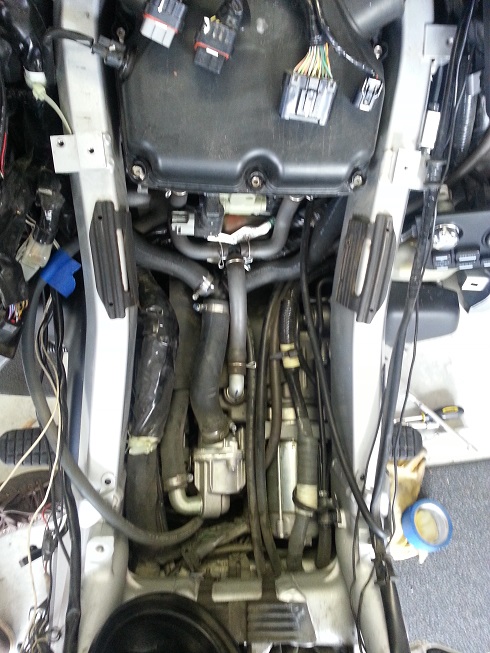
View looking forward of what is underneath the gas tank. There are a lot of hoses in there. That is the air box at the top of the photo.
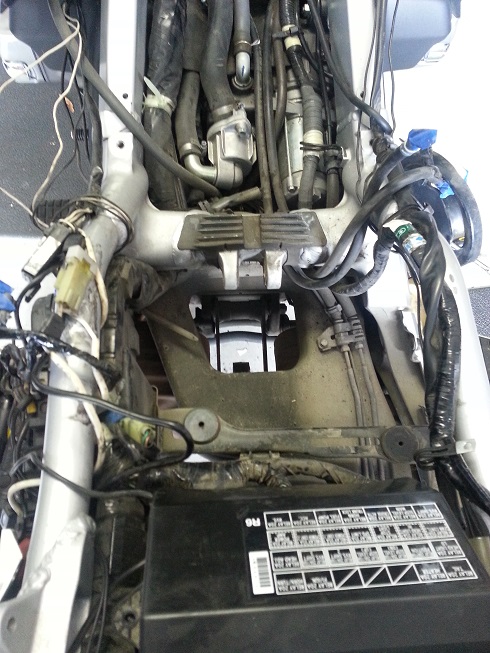
Another view looking forward where the gas tank normally is. The hole in the middle of the photo is where the rear shock would be.
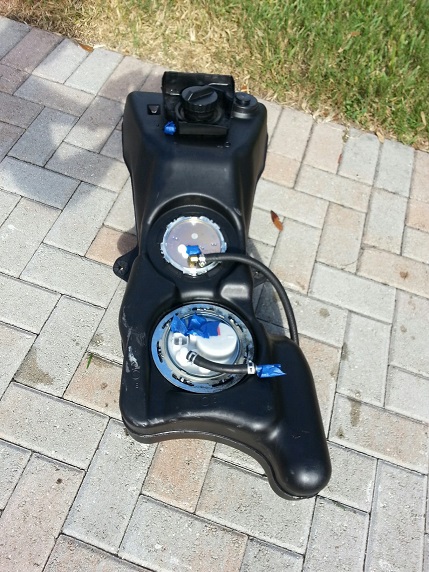
Gas tank removed. I did not use any grease to help get the tank out. Many say to apply silicone grease around the tank as you have to pry the tank out.
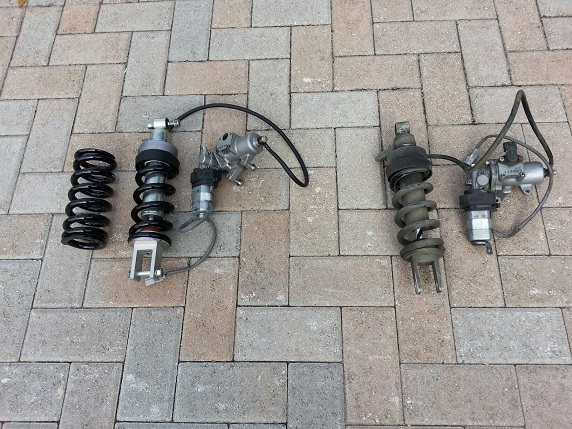
Old and new rear shock with the new spring not yet mounted. I added more fluid to the reservoir so that the preload started at 1 and not 5 like most Gold Wings. It was not to difficult to top off the fluid reservoir.
Finished! It took about 10 hours to complete all of the work. It was 5 hours for the forks and 5 hours for the rear shock. Someone who knows what they are doing could do it in about half the time. I spread out the job over a few days due to the holidays.
I probably saved $1000~ on labor cost and $400~ on parts by doing the work myself. I can use that money for new boots, jacket and a few thousand miles of riding. :)
I was a little intimidated at first but when things started coming off and they are really just nuts, bolts and parts it became less intimidating. Just keeping track of what came off where and really made the difference. Some good photos and labeled plastic bowels to store the bolts and nuts in helped. I had also done the air filter and valves in the past so I had some experience.
I went ahead and changed the air filter even though I only had around 10,000 miles on the wing since the last time I changed it. It is a lot of work to change the air filter so since I had the shelter off it was a good idea to put in a new one.
I have ridden about 1600 miles since upgrading the suspension and it is an improvement all around. The front suspension sag is less and sits about an inch and a half higher. I need to get a few more miles to get a better feeling. I will provide an update once I have more miles.