| |
Aux Tank Mount
Greg Rice - Home Page |
|
| |
|
|
| |
When I bought my new 2012 Gold Wing I new I wanted to buy / make a
new AUX tank mount because what I had been using for the last 6 years or
so was not really a good way to mount the tank. I also have tried many
locations for my Aux tank including in the trunk, in a bag mounted on the luggage
rack and the passenger seat. I have decided the best location for the
aux tank is the passenger seat. In the past I had quickly made a couple funky mounts when I was
in a hurry and just never got around to making a good one. One of the
reasons was I always felt I needed to weld the pieces together and I do
not have a welding machine or know anyone close by who does have one. |
|
| |
|
|
| |
So with the new wing I was inspired to do it better this time and
doing it cheap was an issue. Either I needed a good friend with a welding machine or I
would need to find a way to make a mount that I could bolt together. I
have some friends who could help but no one is near by so I started
drawing up some ideas and started buying aluminum at the local hardware
store. It took many trips to find thick enough pieces that would support
the tank. I finally found some 1/4" pieces at a local old style hardware
store. I can tell you even for scrap pieces aluminum is expensive. I
spent about $60 just on the aluminum.
I had my ideas for how the tank
base would be but not sure how I was
going to mount the base to the wing's passenger grab handles. So I started laying
out the design and started cutting. When I was pretty much done with the
base I decided to paint that part. I am not sure why but I did.
Now I had to come up with a way to mount it to the wing. I was thinking
I could get someone to cut a pipe in half and weld a stainless hinge in
and then add some bolt tabs and that would be great. The problem with
that was no welding machine. So back to the drawing board. I finally
went to the hardware store and just started looking around for parts and
ideas. I finally saw the scrap 1/4" aluminum and got my idea. |
|
| |
|
|
| |
I finally had my design on how I was going to mount to the passenger
grab handles and needed to cut this aluminum. First I need to tell you I
have very few tools and no work bench. My work bench is a metal folding chair
and my tools are a hacksaw, file, sandpaper, drill, hammer and jigsaw. Many of the
pieces you see were cut with a hacksaw and filed by hand. I did cut a
few pieces with the jigsaw but it just did not work well with out a work
bench with a vise to clamp down the pieces. I broke 2 5/16" drill bits
trying to drill holes while standing up hold the aluminum in my hand. |
|
| |
|
|
| |
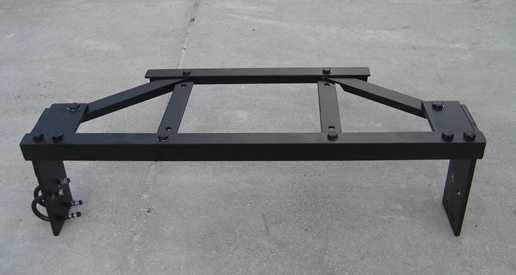
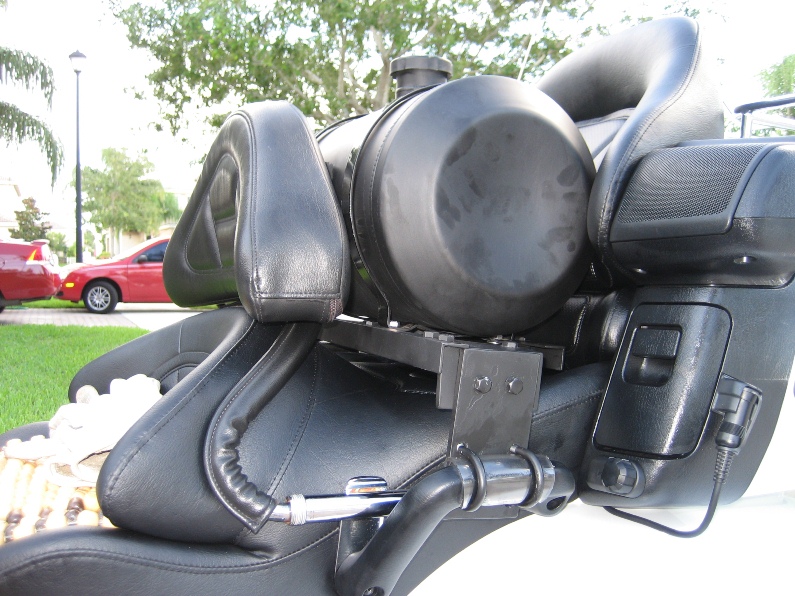
Below are photos of the mount. You will see it is bolted together
with 5/16" or 1/4" bolts. The mount sits about one inch off the seat and
is so strong that I can stand on it.
UPDATE: I have added photos at the
bottom of the webpage with the tank installed. I have a second backrest that has the
foam removed that I still need to swap out. Then I can open the trunk. |
|
| |
|
|
| |
 |
|
| |
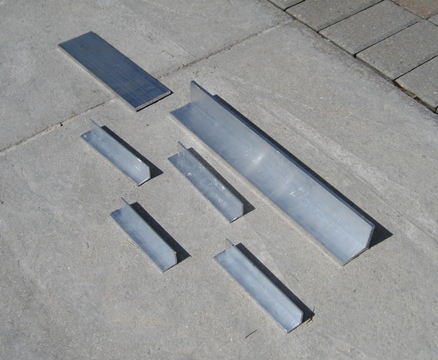
Parts I used to make the aux tank mount. |
|
| |
|
|
| |
 |
|
| |
Making final cuts. |
|
| |
|
|
| |
 |
|
| |
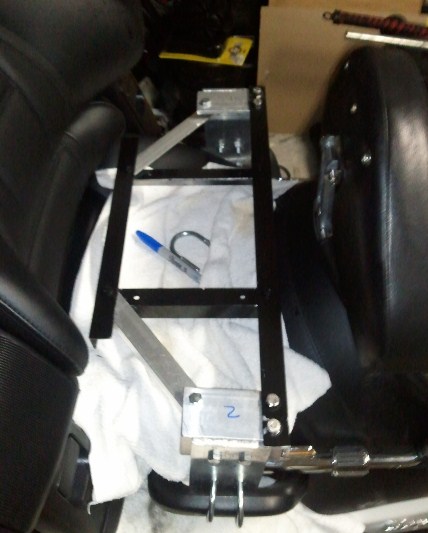
From another angle. |
|
| |
|
|
| |
 |
|
| |
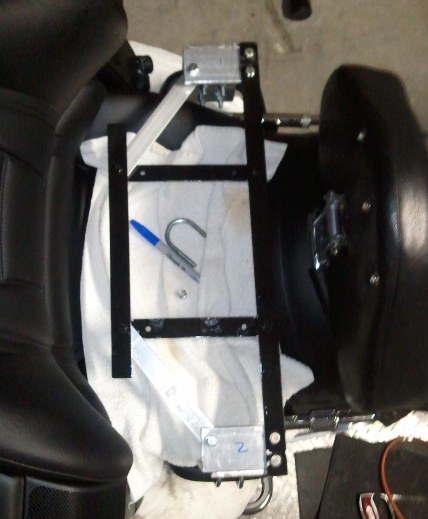
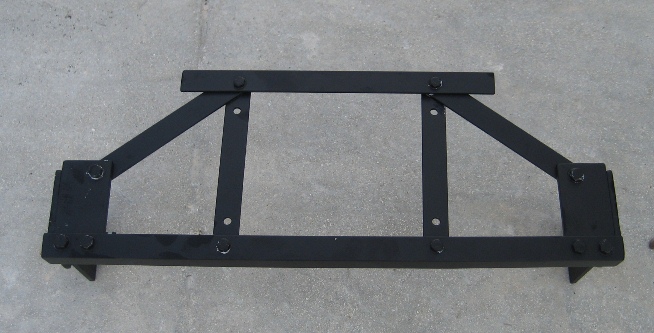
Overhead photo. |
|
| |
|
|
| |
 |
|
| |
Finished, needs one more coat of paint. I used black engine
enamel. |
|
| |
|
|
| |
 |
|
| |
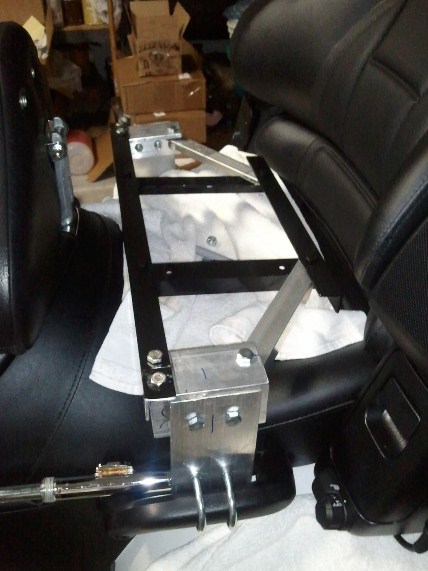
Another angle. |
|
| |
|
|
| |
 |
|
| |
One more angle of the finished mount. |
|
| |
|
|
| |
 |
|
| |
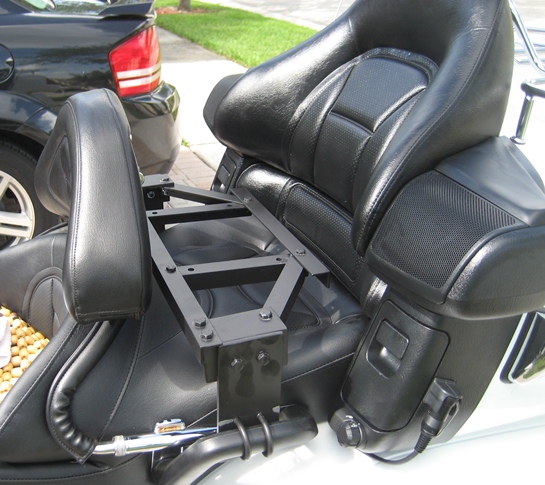
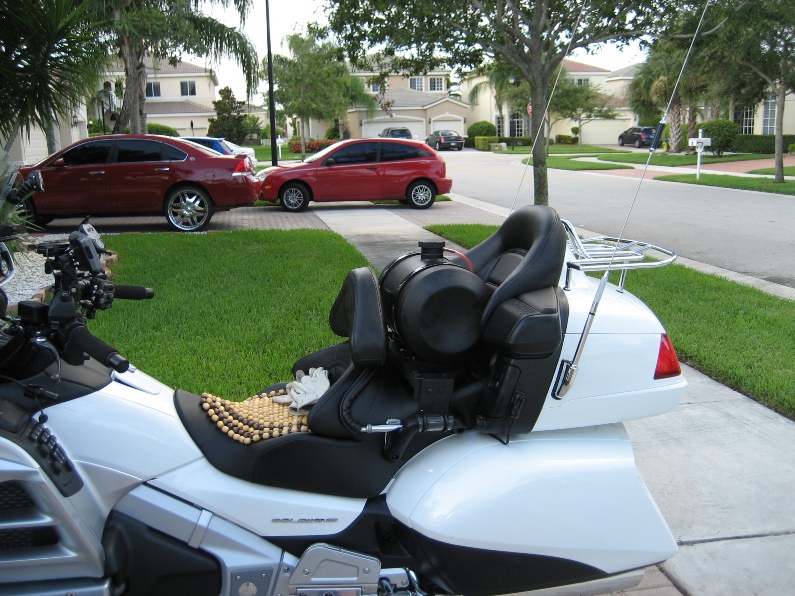
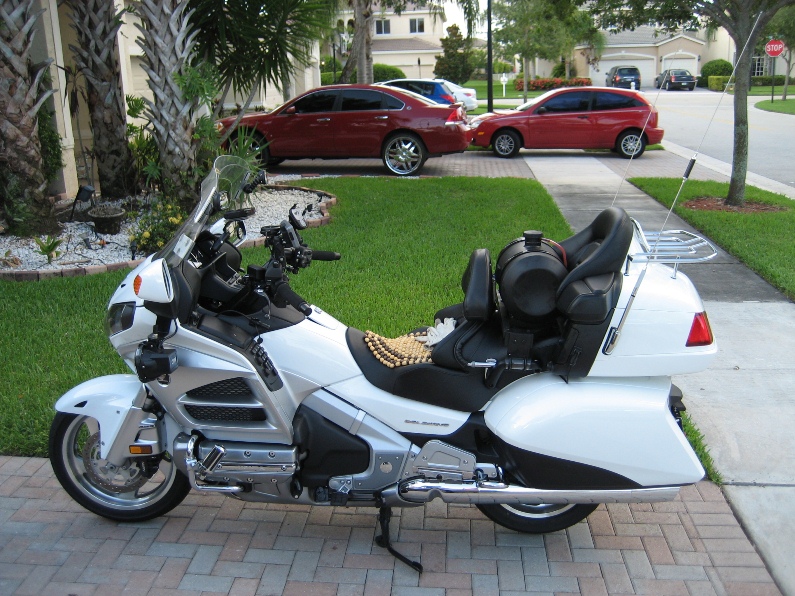
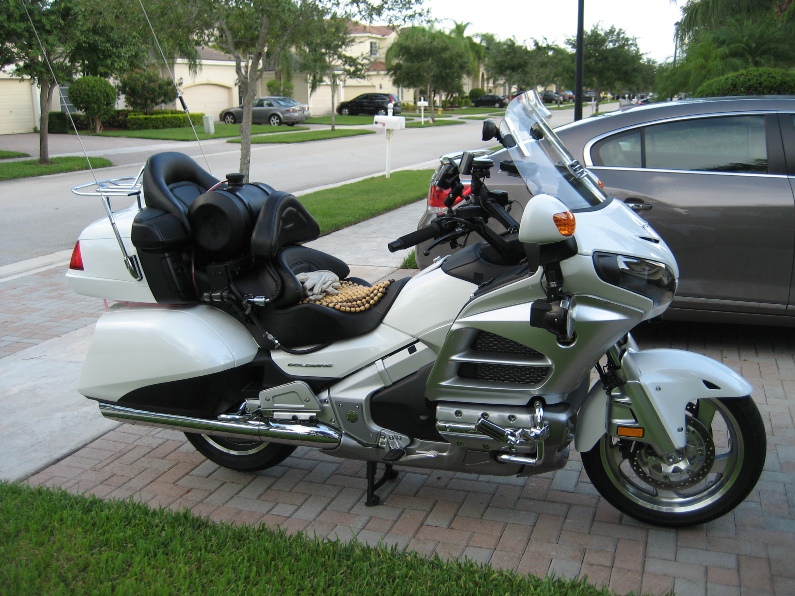
Mounted on the wing. |
|
| |
|
|
| |
 |
|
| |
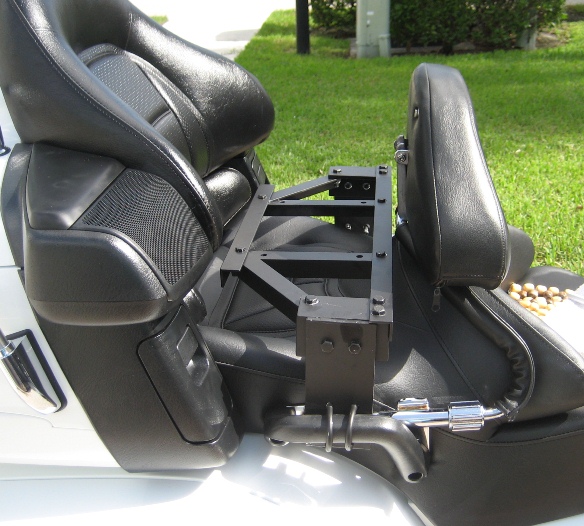
Another angle. |
|
| |
|
|
| |
 |
|
| |
Close up view. |
|
| |
|
|
| |
 |
|
| |
Wider view. |
|
| |
|
|
| |
 |
|
| |
|
|
| |
 |
|